Kitchen Hardware DIY Project: How To Update Your Traditional Kitchen Cabinets With a Modern Twist
April 9, 2019
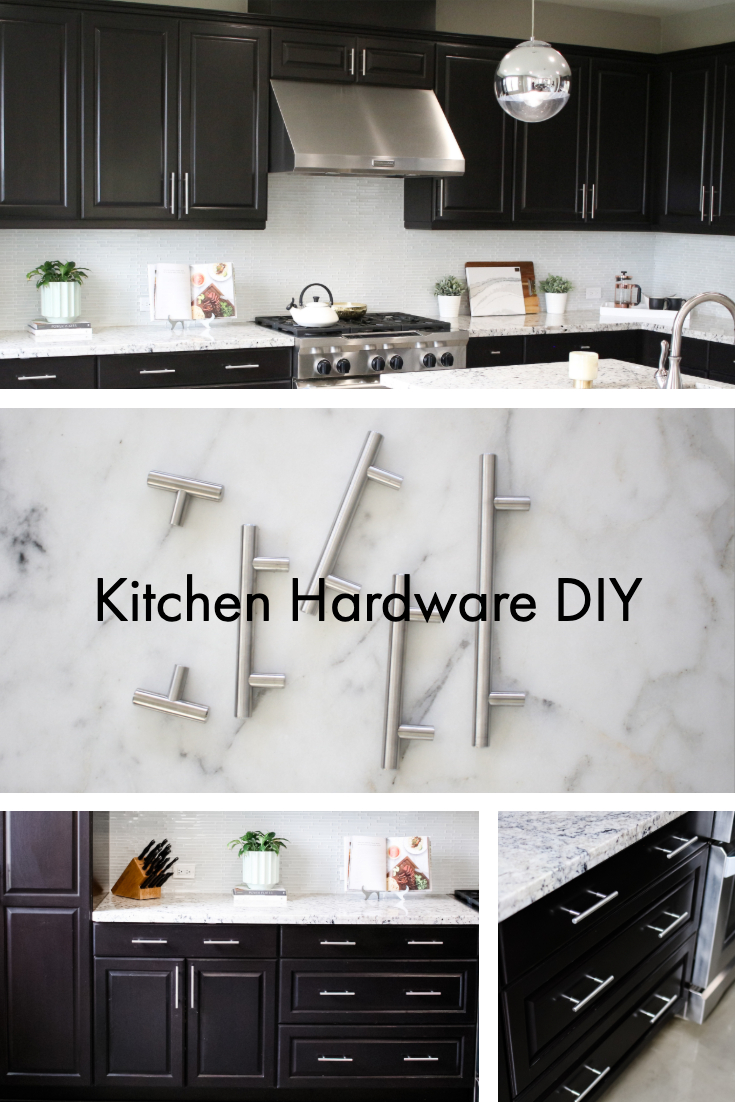
It’s transformation Tuesday, which means we are sharing a fun DIY project! My good friend Natalie with The Boyle Group has a gorgeous kitchen! She wanted to highlight her modern style in her more traditional kitchen on a budget. An easy way to achieve a new modern look in her kitchen was to update her hardware. We decided to DIY this project, this is an easy project that anyone can do with some essential tools. Wait until you see the before and after below! Her new gorgeous hardware made such an impact. We are excited to share with you all this Kitchen Hardware DIY Project: How To Update Your Traditional Kitchen Cabinets With a Modern Twist.
Emtek gifted the hardware, however all opinions are our own.

Kitchen Hardware DIY Project: How To Update Your Traditional Kitchen Cabinets With a Modern Twist
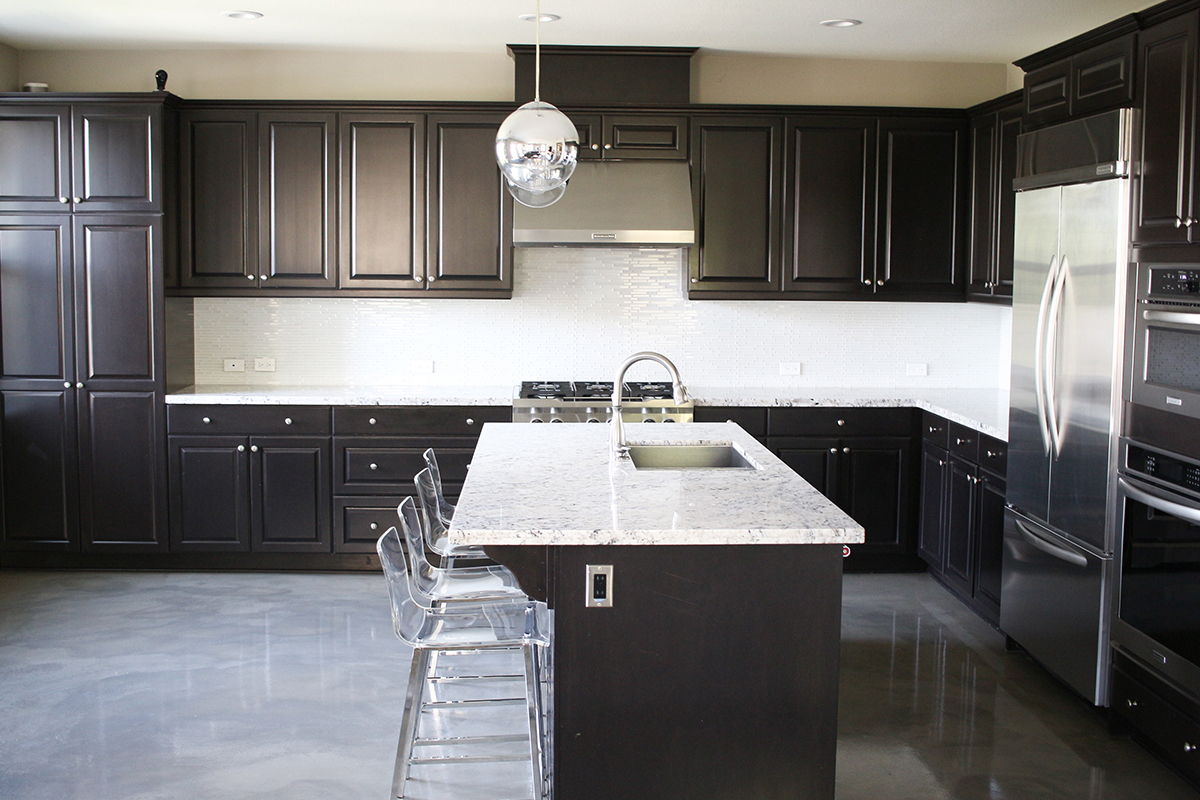
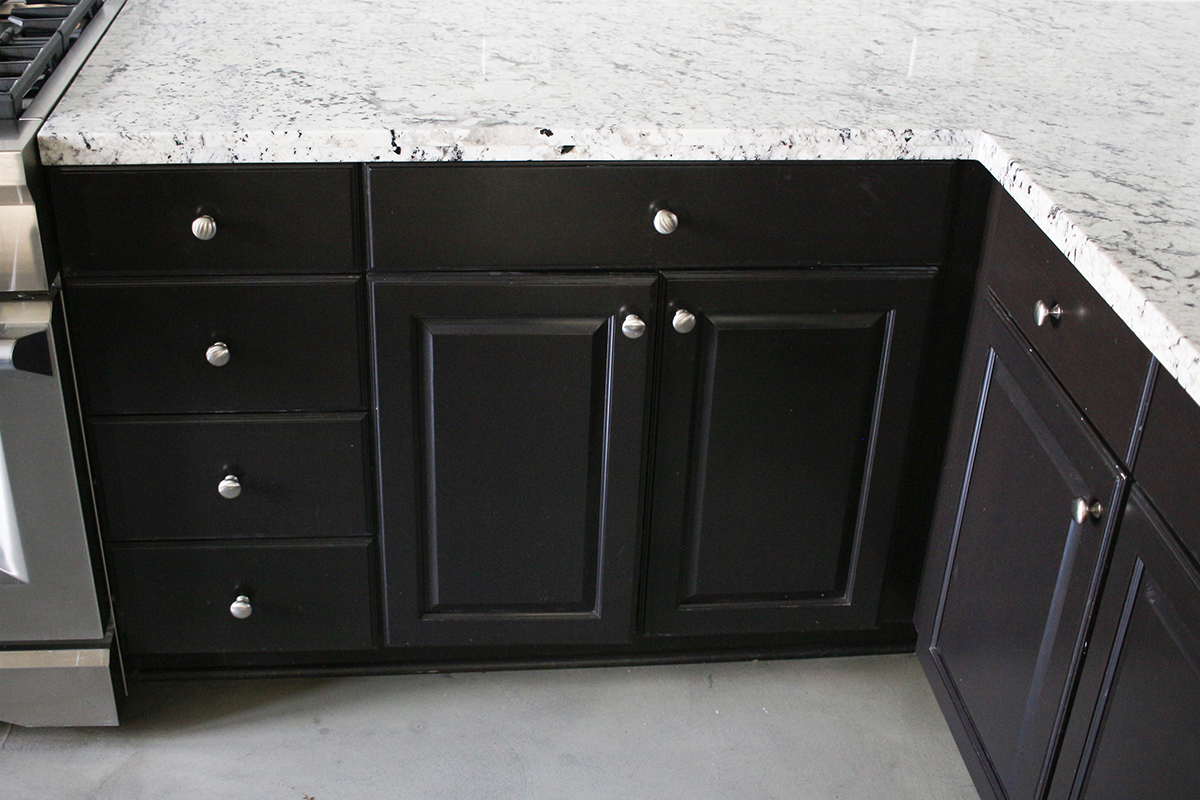
The Before:
Guide For New Hardware Placement:
Small Drawers:
For small drawers center the pull or knob in both directions.
Larger Drawers:
For drawers 22” and up, we recommend to double up on knobs and pulls. Divide the drawer into thirds and position the hardware on the left and right sides of the drawers.
Doors:
For placing the hardware on the doors we recommend placing the hardware centered on the lower frame of the door starting above the inset.
The Essentials:
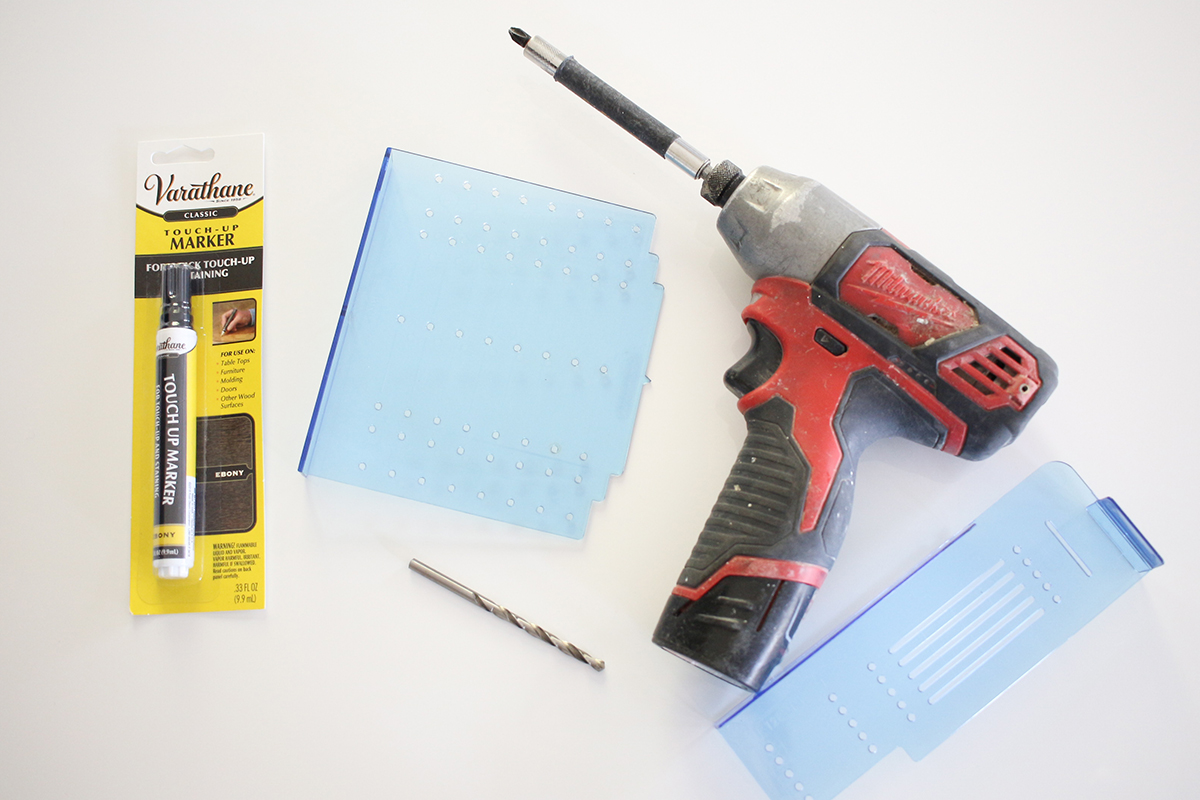
There are a few essential items we recommended for updating your kitchen hardware that will make this project a breeze.
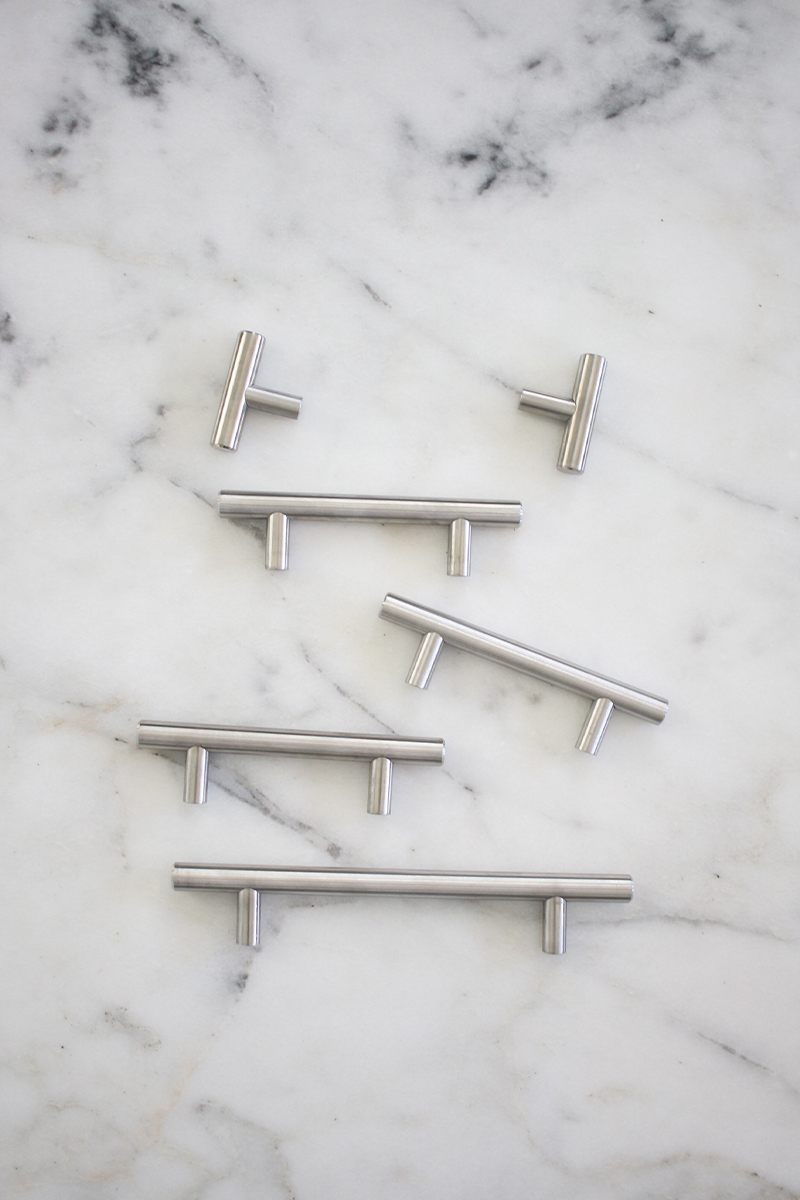
1) New Emtek Hardware –That’s a given! We chose modern pulls over knobs since it achieved that sleek modern look we were going for.
2). A Drill
3). Template For Drilling New Holes – This is a game changer!
4). Screwdriver
5). Level
6). Touch up pen for cabinets
Shop my post:

10 Easy Steps for updating your cabinet hardware:
1). Measure for new hardware.
We decided we didn’t want to patch any existing holes so we specifically found hardware from Emtek that worked with the existing holes and we easily drilled new holes with our hardware template.
2). Select and purchase new hardware.
We love Emtek hardware, they had so many great options!
3). Remove Existing Hardware
We recommend utilizing a drill and a screwdriver for this step.
4). Clean Cabinets and Drawers
Use soap and water to wipe down your cabinets after removing existing hardware.
5). Utilize a touch-up pen
Cover up any marks or scratches with a touch-up pen that matches your cabinet color.
6). Install the Hardware that does not require drilling first
We utilized a screwdriver and the drill for this step to make it go quicker.
7). Utilize a hardware template
The hardware template is a game changer! This was so helpful to measure and mark the new holes. When utilizing the hardware template measure your hardware center to center and mark on the template so you can easily mark the new holes.
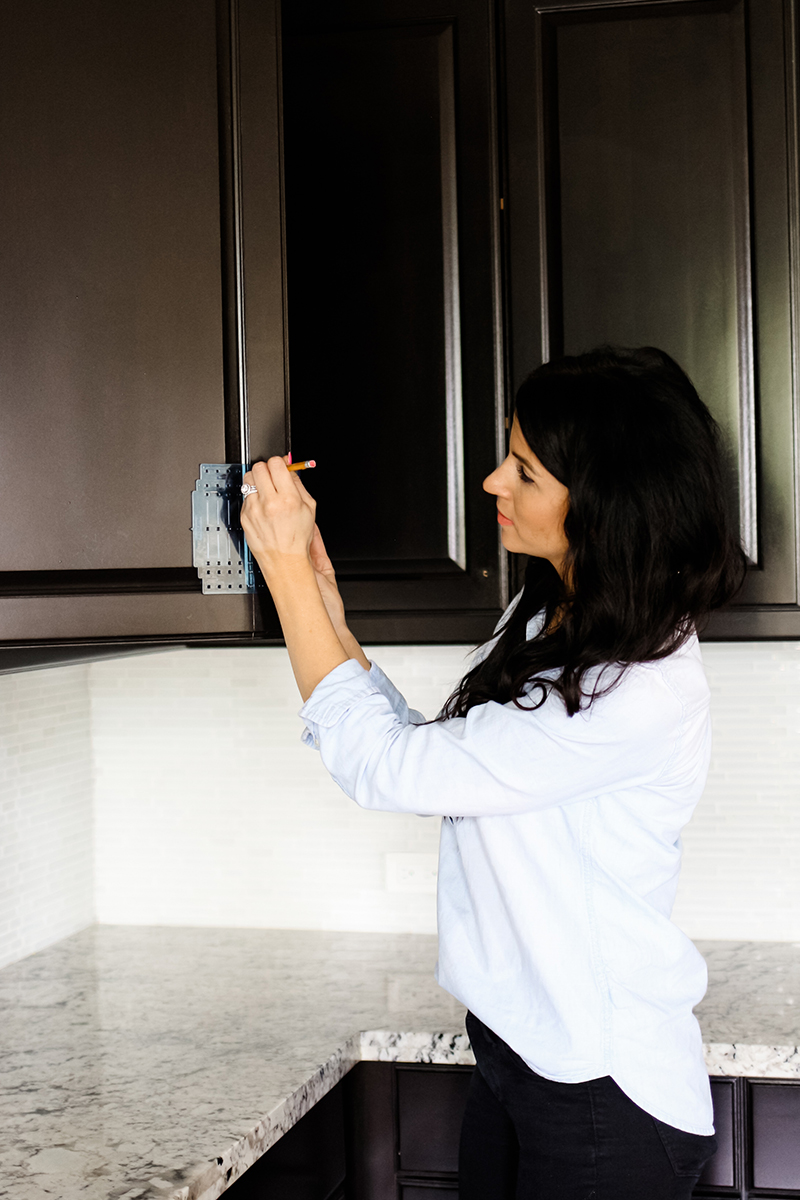
8). Drill new holes
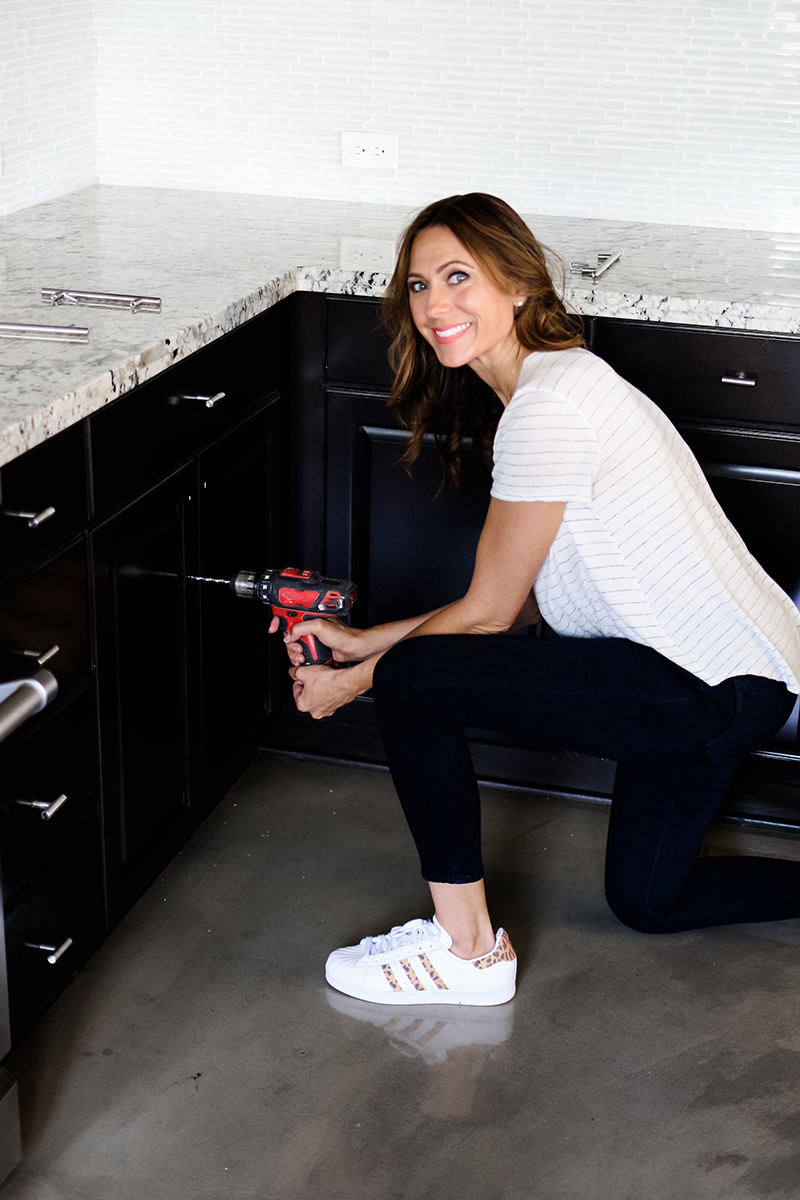
9). Install hardware
Typically, two screw lengths are provided with your hardware. Chose the screw length that works best for the thickness of your cabinets and drawers.
10). Utilize a level
Tighten new hardware and make sure it’s level.
The After:
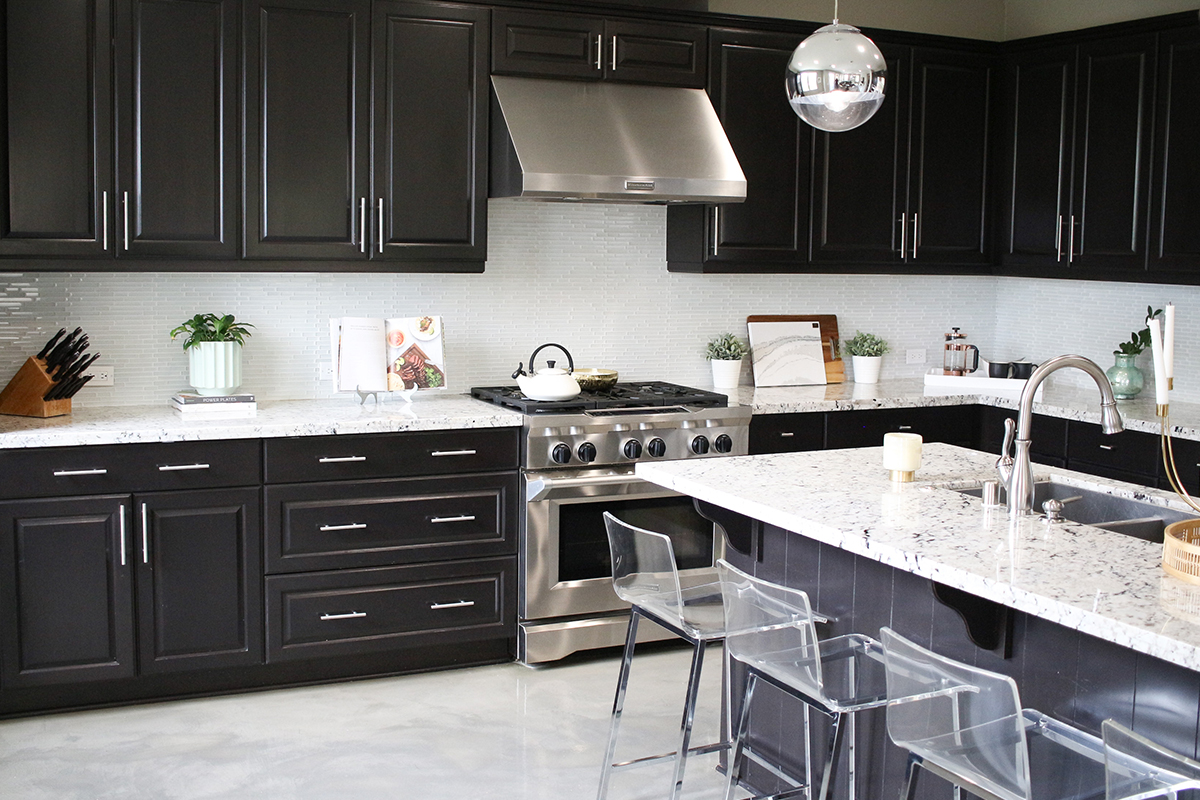
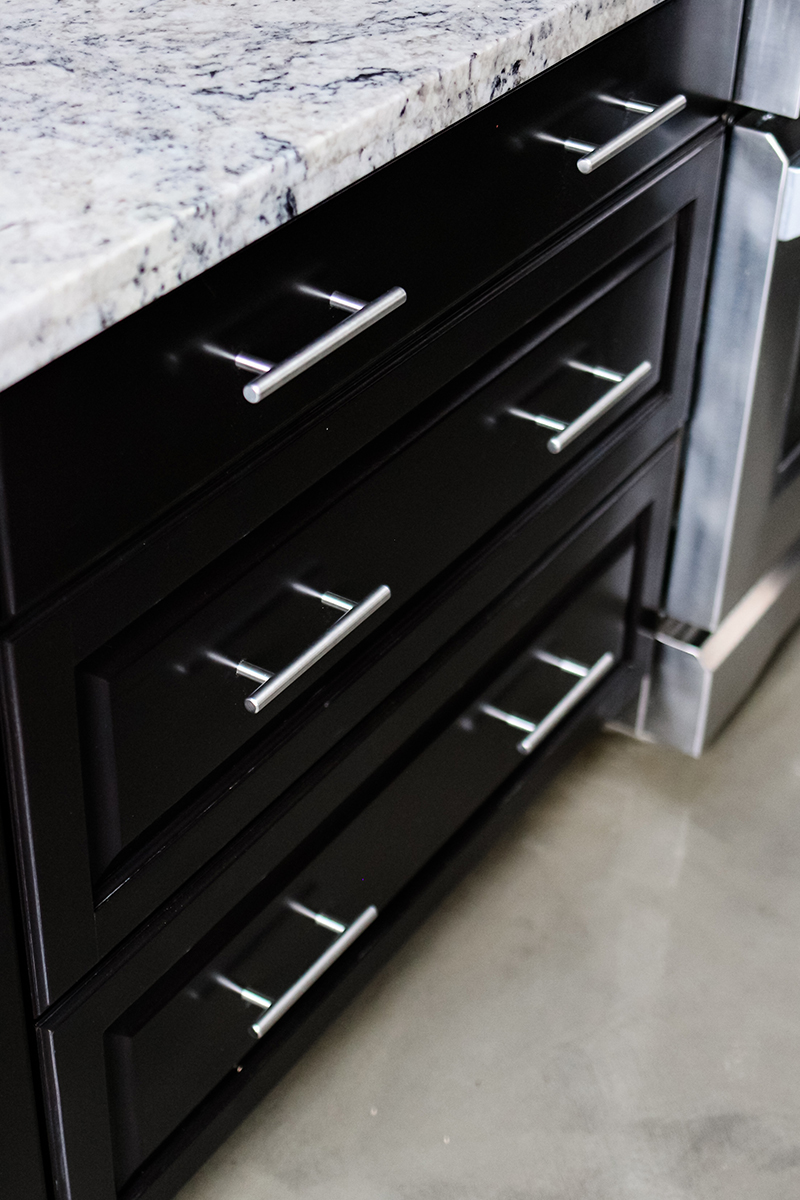
We hope you enjoyed this Kitchen Hardware DIY Project: How To Update Your Traditional Kitchen Cabinets With a Modern Twist on a budget.
[…] Check out the before and after pictures of our investment property project. Not only did Natalie increase her rental income by over 50%, but she also increased the equity in my home by over $50,000. Natalie being an experienced Real Estate Agent in Orange County she knew what to focus on and how to maximize profits. Hiring the right Real Estate Professional makes all the difference in maximizing your profits as they truly understand the market. We hope you enjoyed the top investment property upgrades to increase rent and equity! See some other fun ways to update your property here. […]