DIY Playhouse Makeover On A Budget
January 14, 2019
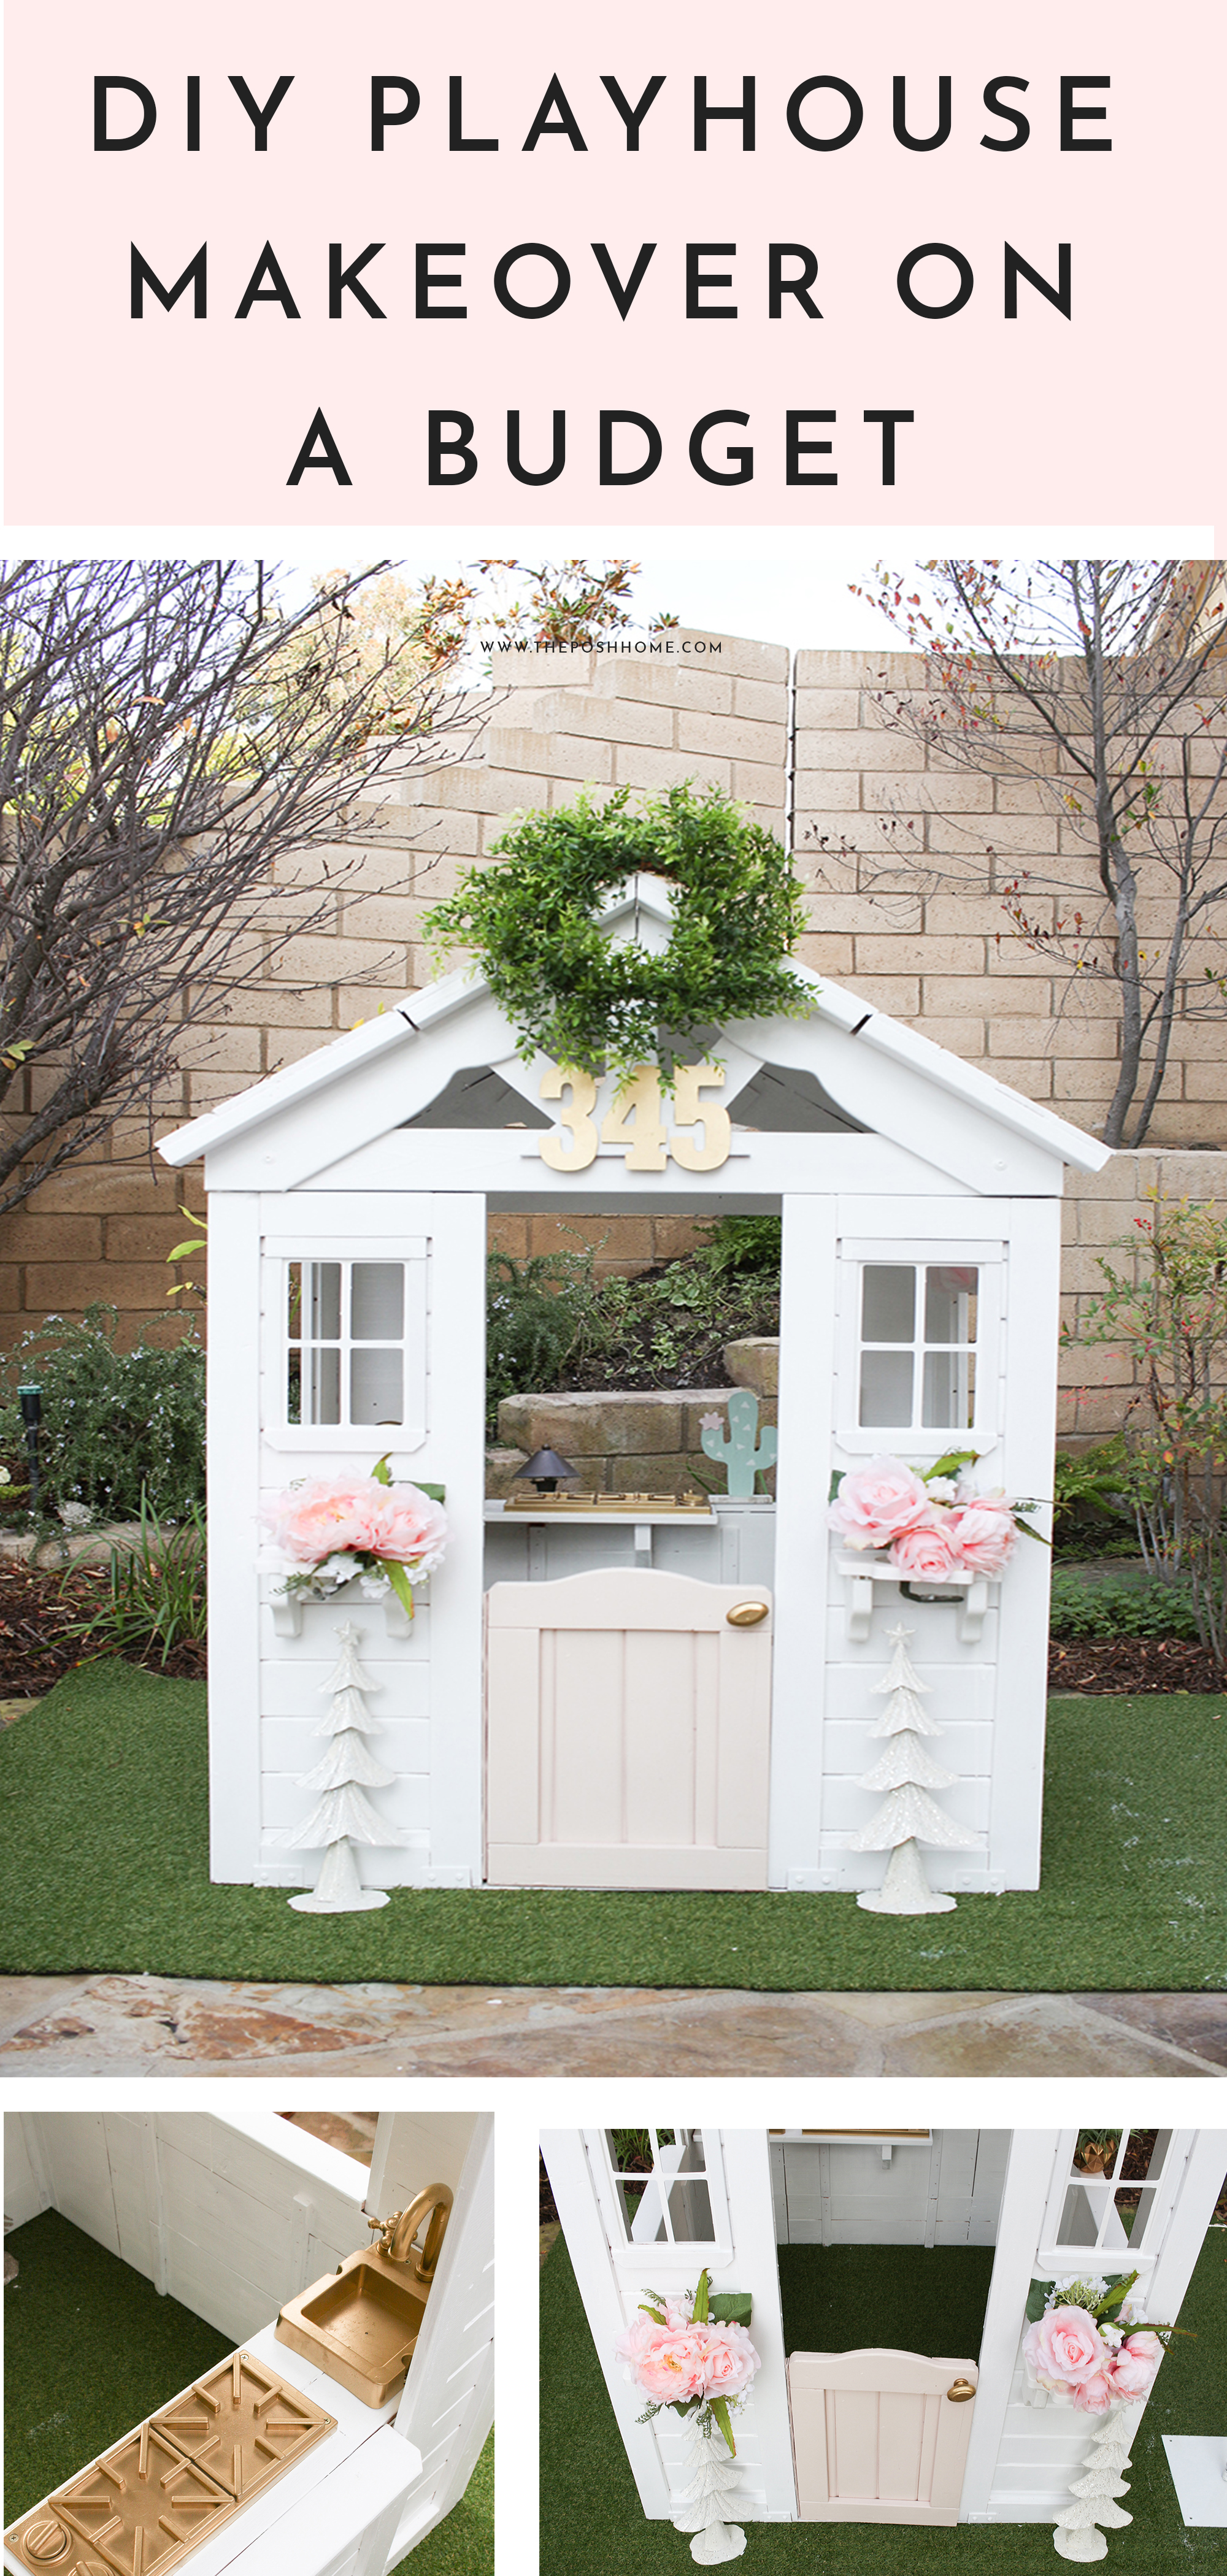
Happy Monday friends! Hope you all are having a great start to your week. I have been receiving a lot of requests on our DIY Playhouse makeover on a budget. I am so excited to share what we learned along the way and how we redid my daughters’ playhouse on a budget. Don’t be intimidated by this DIY project, it’s time-consuming but super easy.
This post contains affiliate links.
DIY Playhouse Makeover On A Budget:
My daughters love playhouses! We learned that at our friends’ house who has an adorable playhouse. My two year old wouldn’t leave the playhouse there or at the gym, so we knew we needed to surprise them with one. In Southern California we can enjoy our yard 12 months out of the year, so we had to make a fun space for the girls to play.
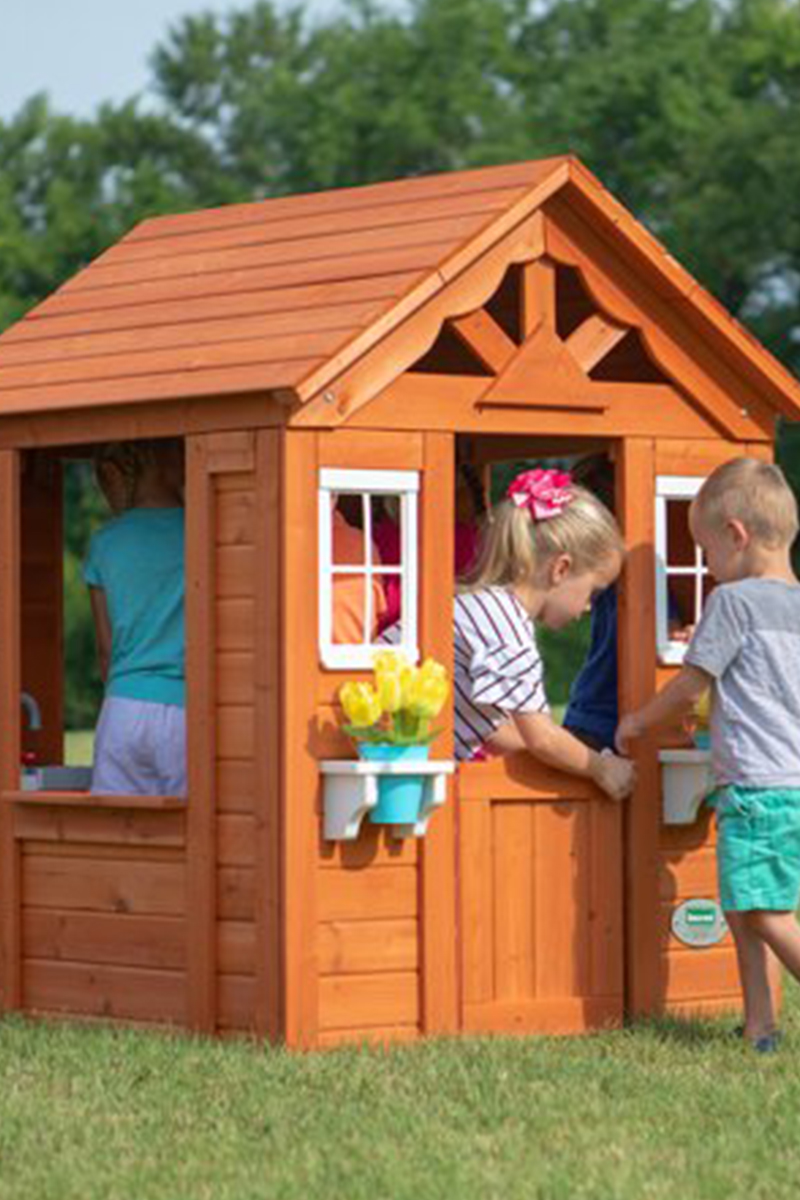
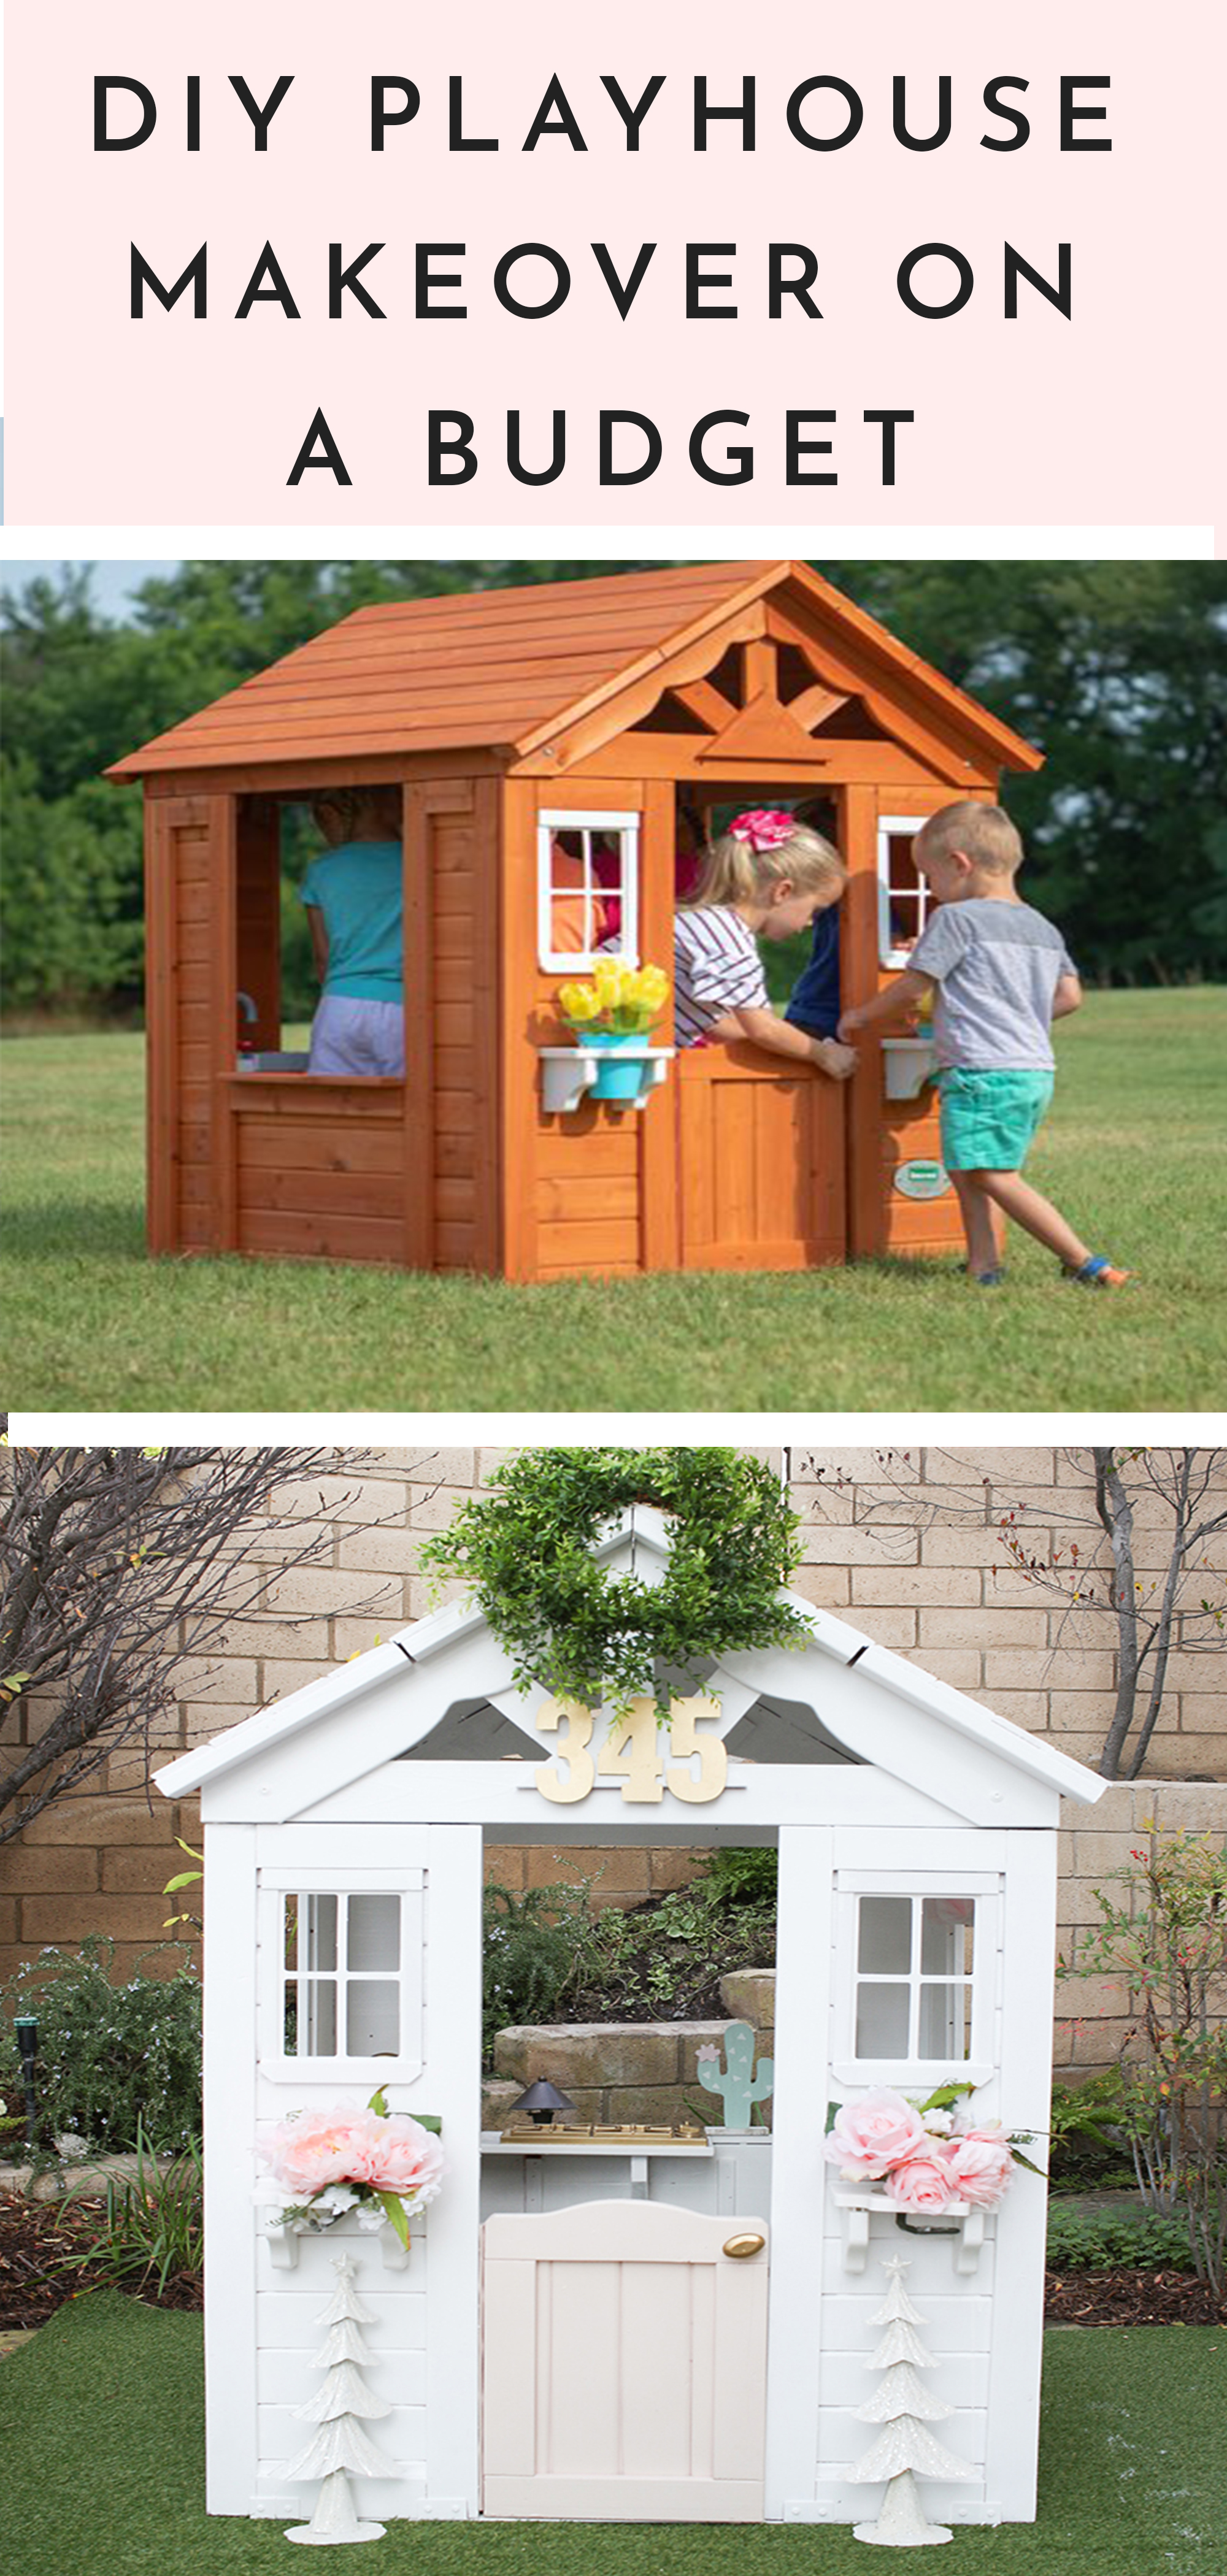
We purchased this playhouse for under $200 (click the image below)! Before photo (from manufacturer’s website):


Shop This Post:

What Not To Do:
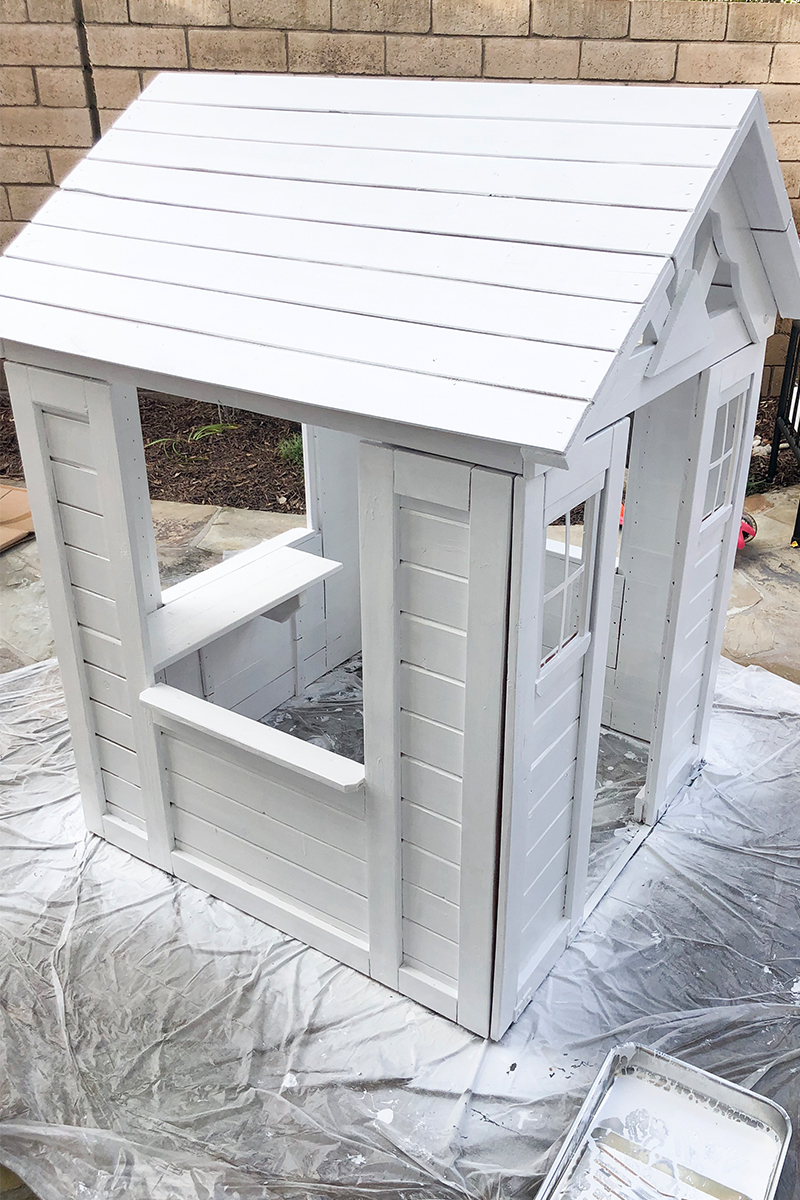
Don’t spray paint the actual house with spraypaint! We learned this the hard way. My husband and I thought spray-painting would be a great way to paint this. Ten spray paint cans later it was not even halfway covered! The cedar wood just soaks up the paint. I recommend an exterior semi-gloss paint to help protect the wood. It will take multiple coats but be patient and it will turn out looking great!
How To Transform The Playhouse:
Door:
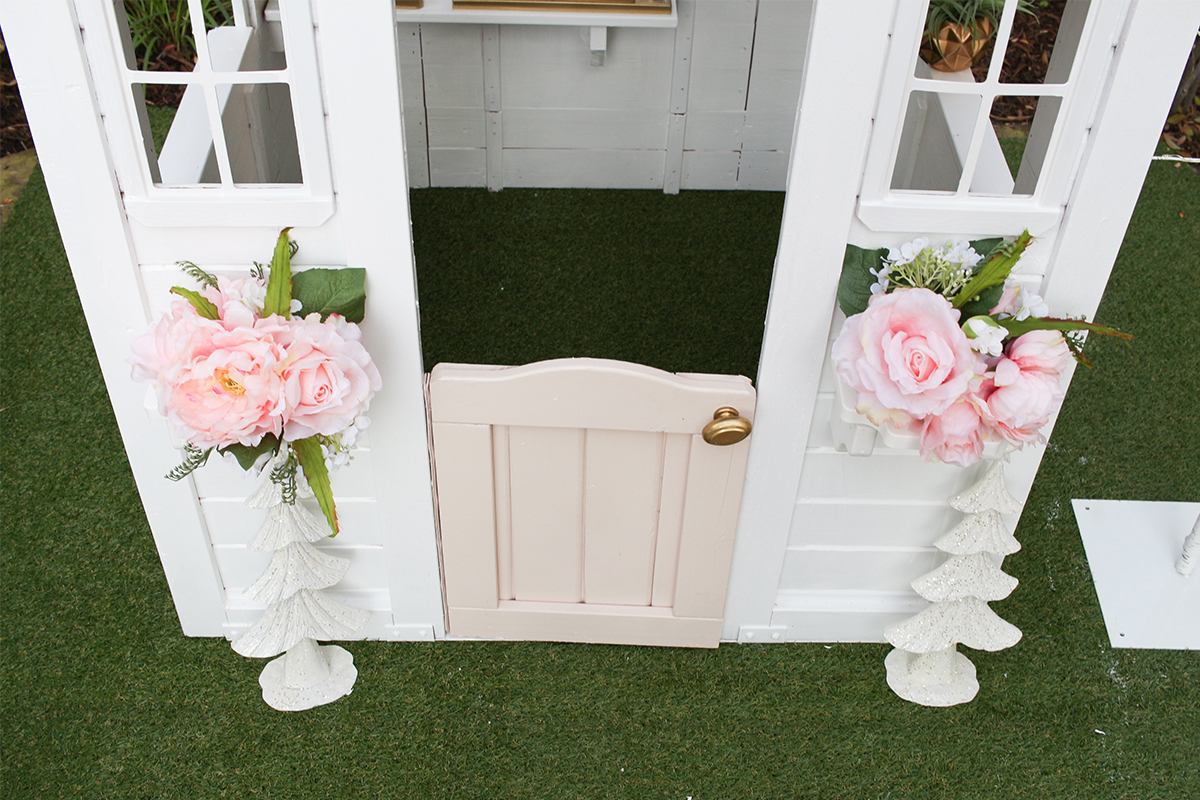
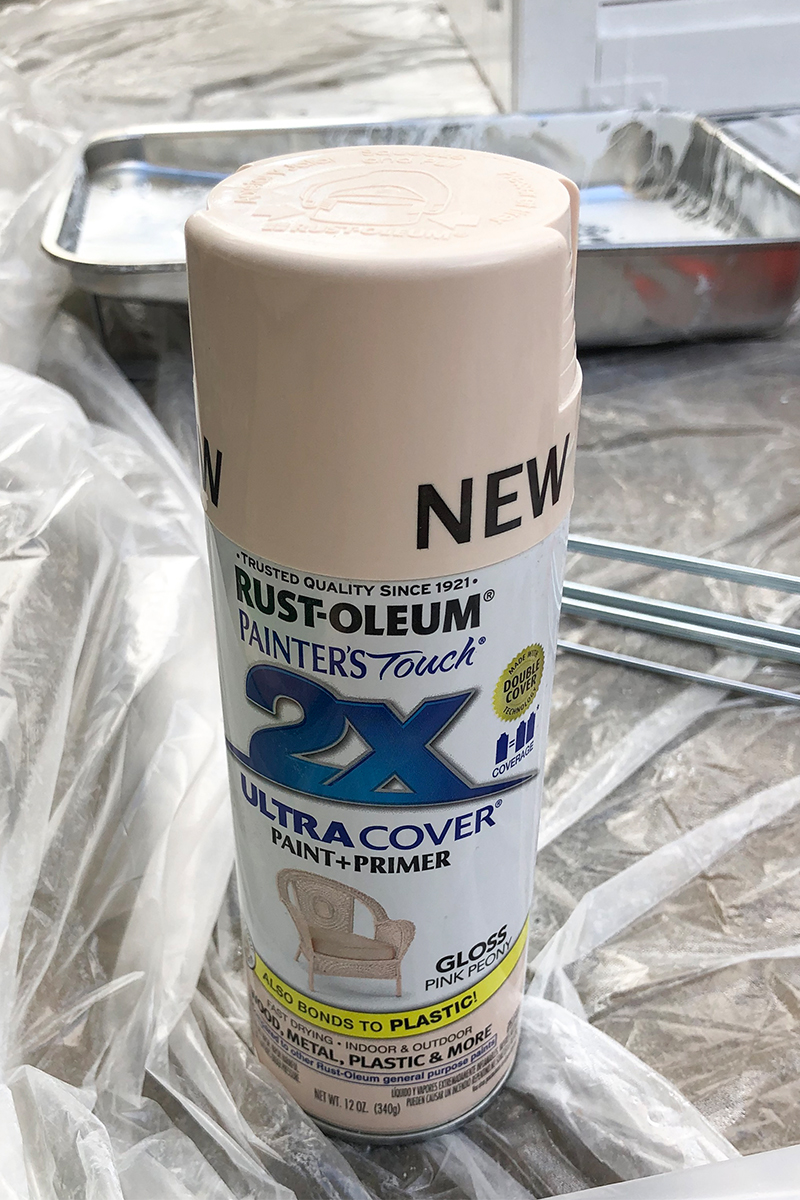
We did use spray paint to paint the door. It’s a light pink color called Pink Peony and we love the way it turned out. We chose an outdoor spray paint in gloss and it has held up really well.
Accessories:
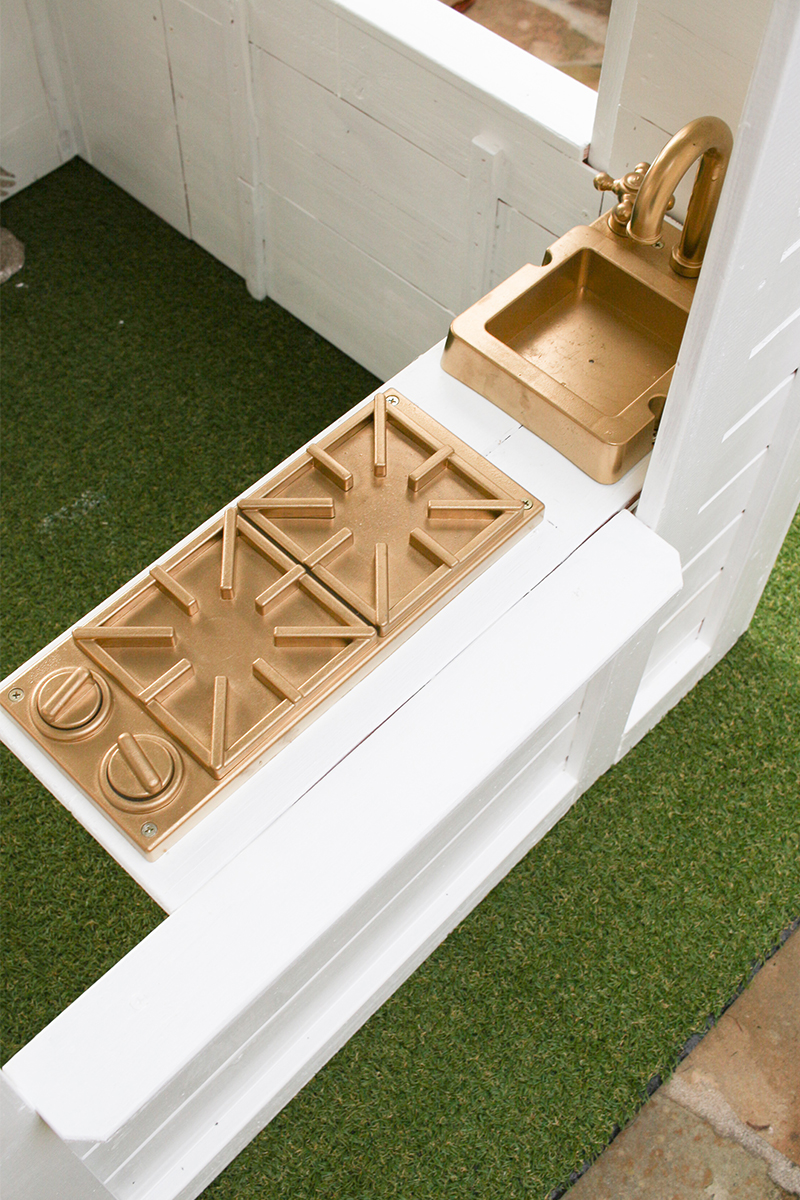
We spray painted the door handle, the wood letters (which I found from Hobby Lobby), and kitchen accessories with Rustoleum gold metallic spray paint. It’s my favorite gold spray paint. I have tried a ton of different gold spray paints and this by far is the best!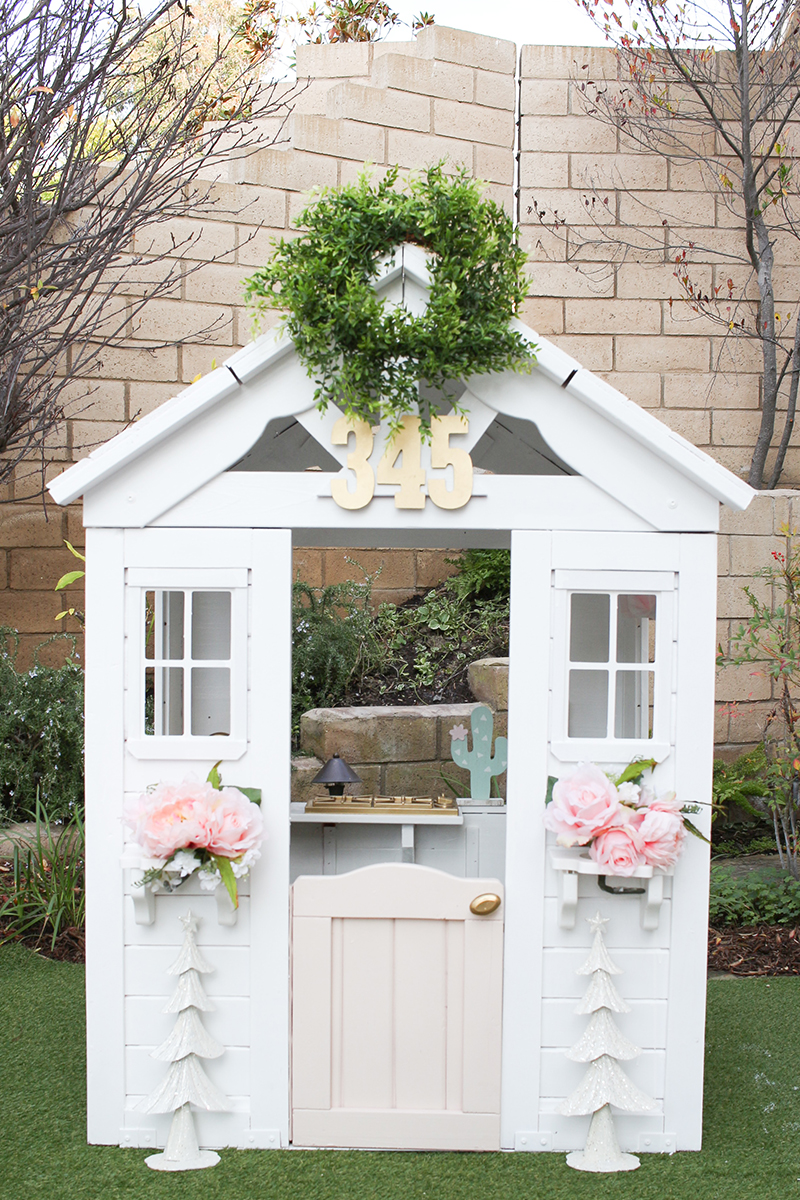
Window Shade:
I went to Hobby Lobby and picked up some fabric and made a window shade with fabric glue and a glue gun.
- Measure the window
- Cut the fabric
- Fold the edges and iron the hem
- Use fabric glue to hold the hem together
- Let the fabric glue fully dry
- Then use your hot glue gun to attach the window shade to the wood
It was so easy!
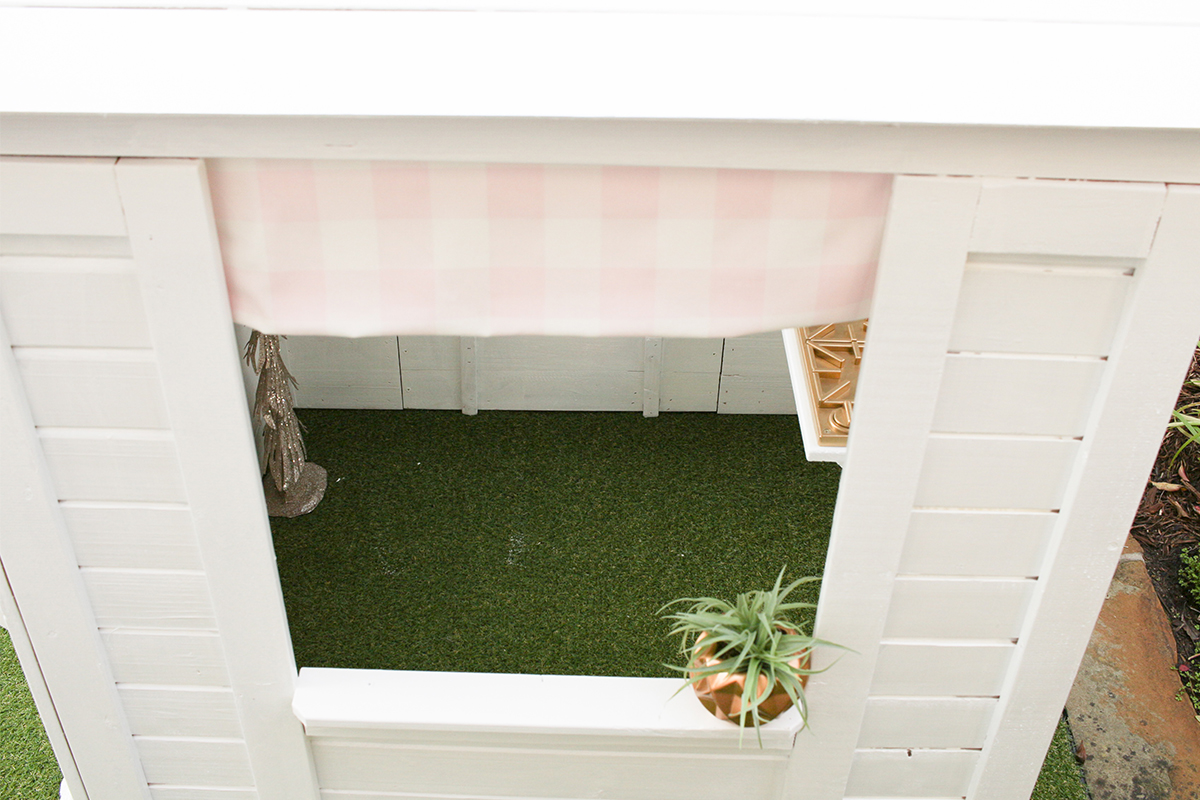
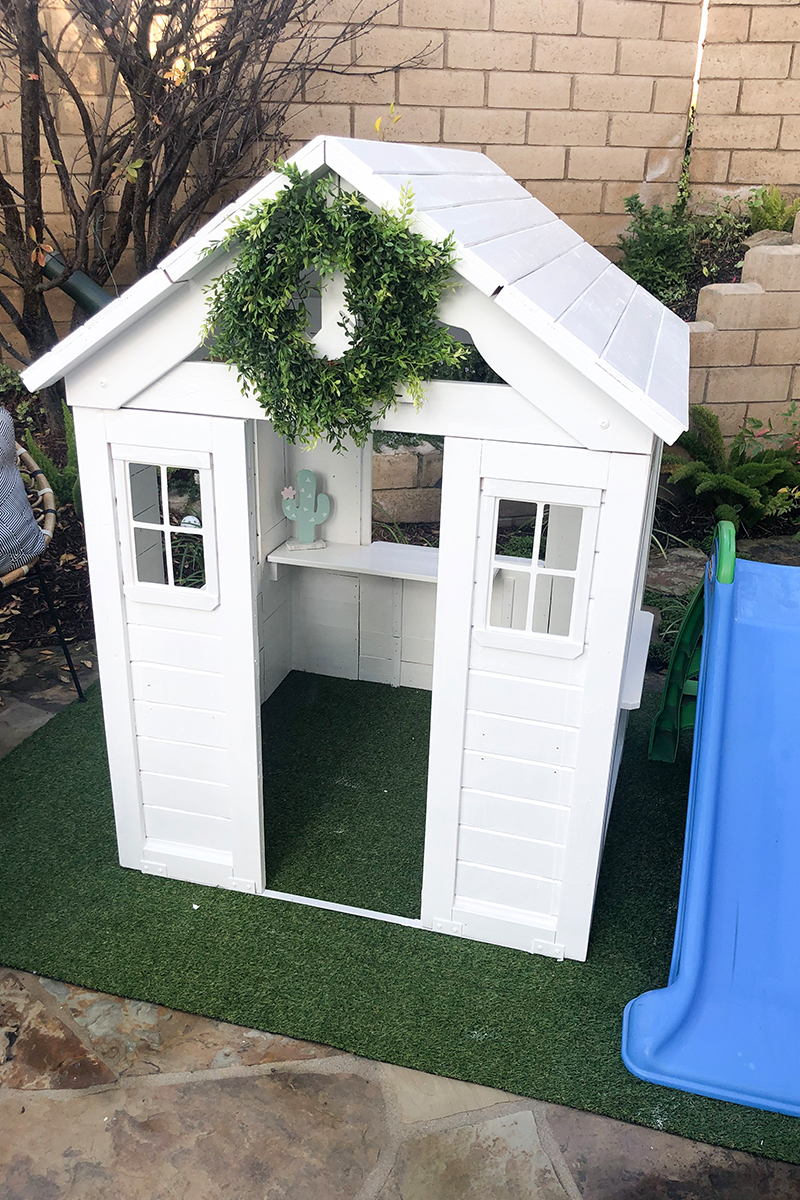
We added flowers, a wreath, and a green grass rug under the playhouse and the girls absolutely love it! It was so worth the time we spent doing this DIY playhouse makeover on a budget. You have to see my good friend Jenn with Jenn Loyd Life & Style’s playhouse here. It’s so cute and will leave you even that more inspired to complete your own DIY playhouse makeover!
I hope you enjoyed this post. Let me know if you have any questions below!
Your playhouse is magical!!! The girls are going to have tons of fun in it. This weekend we are decorating ours for Valentine’s Day…lots of hearts coming!
So fun!!! Can’t wait to see what you share.
You did such a fine job! Thank you for sharing!! I am saving all these details!! ????????????
Aw thank you so much! You will have to keep me posted if you do this DIY! Would love to see photos. xo
So cute – I bet the girls are absolutely in love with it! Many hours of fun…
May I ask how the paint has held up over time? We just bought this same playhouse for our daughter, but I fear that Ohio weather will destroy any paint I put on it.
Thank you! It has been doing well.
Did you paint before you built the playhouse or after?
It’s so much easier to paint beforehand. I definitely recommend it 🙂
[…] Source Source […]
So cute! I’m in the middle of remodeling ours now! Quick question… how has the gold paint on the kitchen held up? Thanks!!
Thank you! Some of the gold has chipped off but most is still there. 🙂
So cute! Where did you get the kitchen sink and stove for the playhouse?
Thank you! It was included we just spray painted it with gold spray paint.
Love this! I’m doing my daughtet’s now. Did you paint it with a paint brush or roller? She’s had it awhile so its already put together.
Thank you! We did both.
Love what you did! What size ‘grass’ rug did you use under the playhouse?
Thank you! It is a 5×8 rug.